How to Register on the Patient Portal
A how-to guide on registering on the patient portal.
Step 1: Open Patient Portal Link and Enter in Your Key
- Type the link into your web-browser/ or click the link if it is via email.
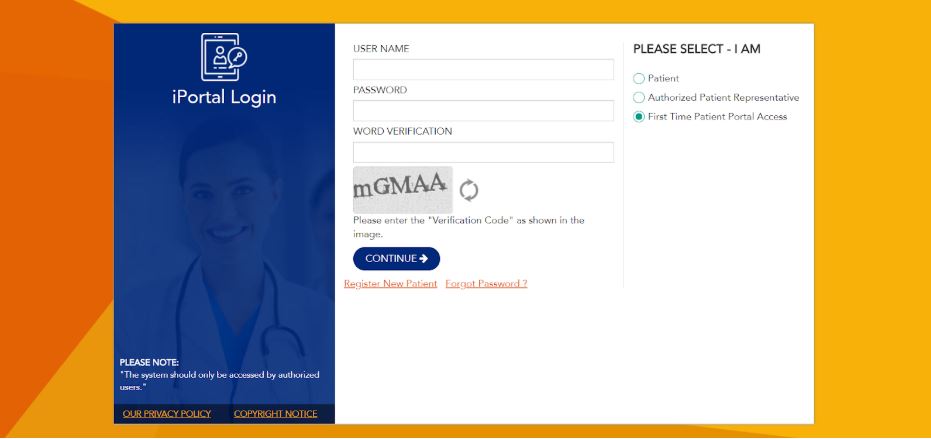
- You will come to the screen below, then click on First time Patient Portal Access to the right-hand side under “PLEASE SELECT-I AM” (Check First Time Patient Portal Access) if it is the first time setting up access and hit continue.
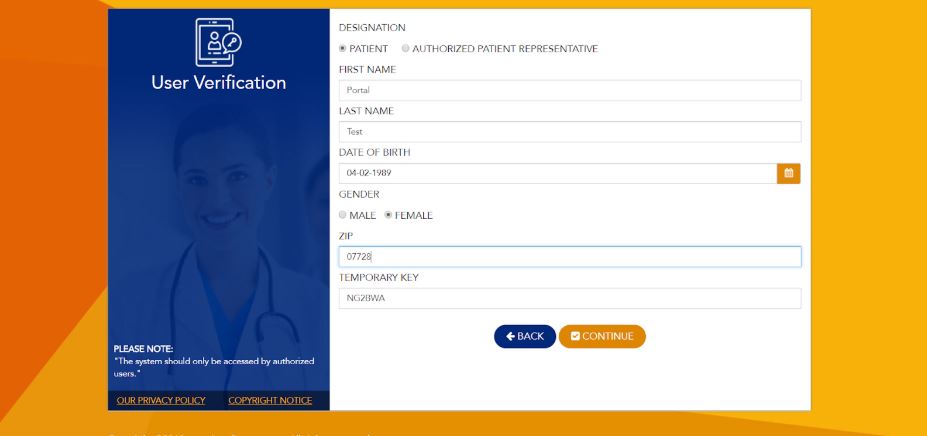
- After hitting continue, it will bring you to the screen below- which will ask you for some of the information necessary to create a username and password to access the portal. Fill out the appropriate details and hit CONTINUE.

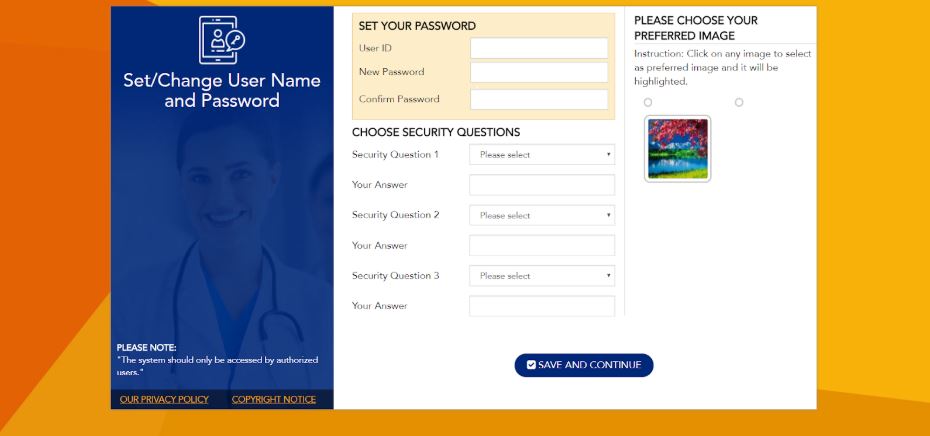
- It will then ask you to set up a user ID and password, please follow the fields accordingly. Once you have filled in all the information, you will choose your preferred image by selecting it via the circle above it.
- Once complete, hit SAVE AND CONTINUE.

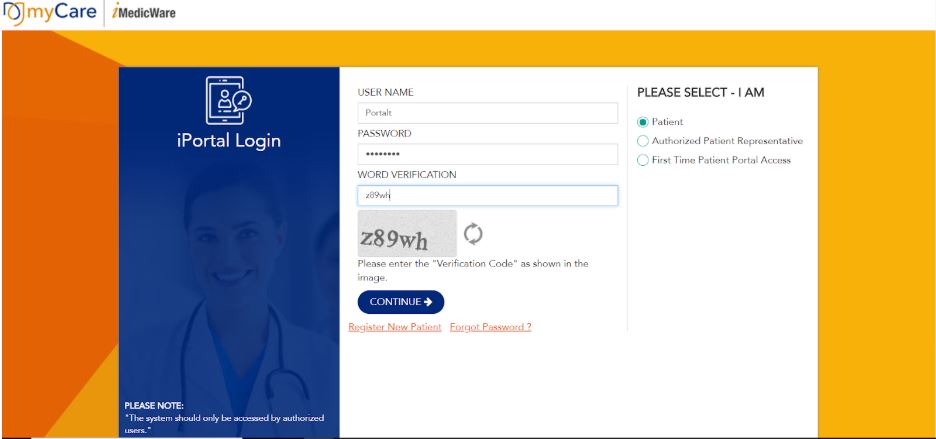
- It will then bring you back to the login screen to test your created user name and password- you will have to enter whichever Verification Code is presented at the time into the appropriate field. Once complete, hit continue.
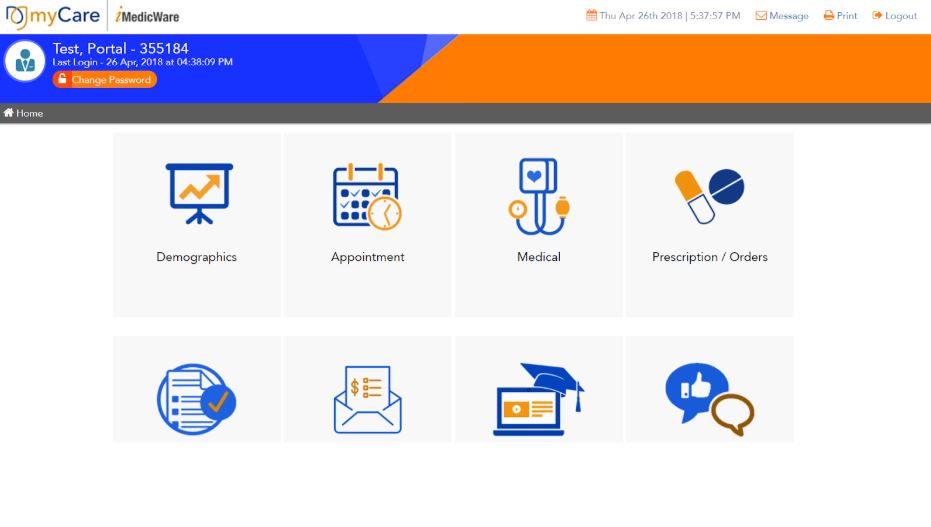
Step 2: Patient Portal Home Screen
Once you have logged into the portal, you will then see your home screen with multiple different options to select and update such as demographics, insurance, medical, etc.
At this point you have the ability to update your information- once hitting save, the practice will receive the update, approve it and confirm once you arrive for your next appointment.
Please review screenshots below of the different areas of the patient portal you will see!
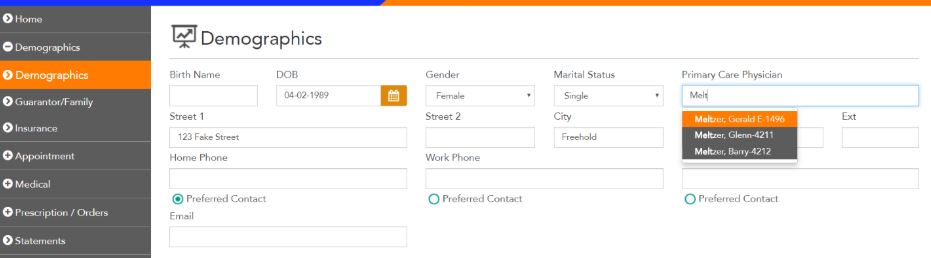
When adding in a primary care physician, as the above picture shows, when you type in the physician if it is listed amongst the practice you may either select it from the drop-down screen, or you can type it in.
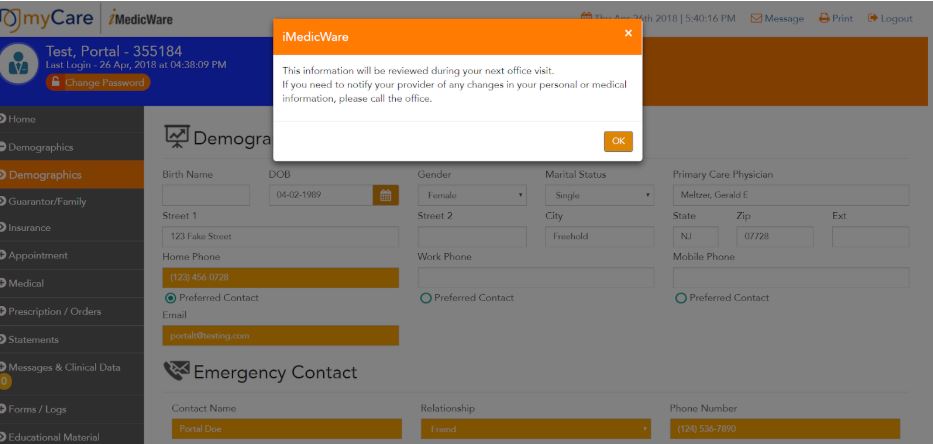
Always hit save when you are entering or editing your information, so the practice gets notified as the above picture shows.
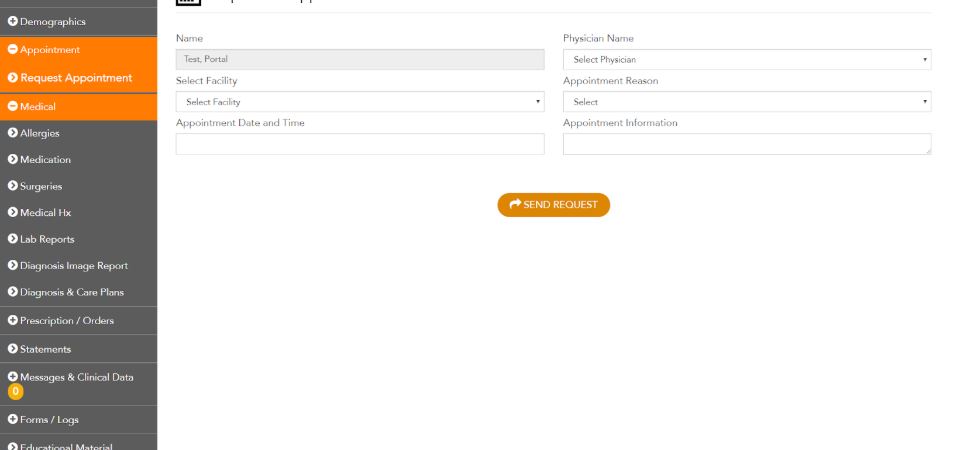
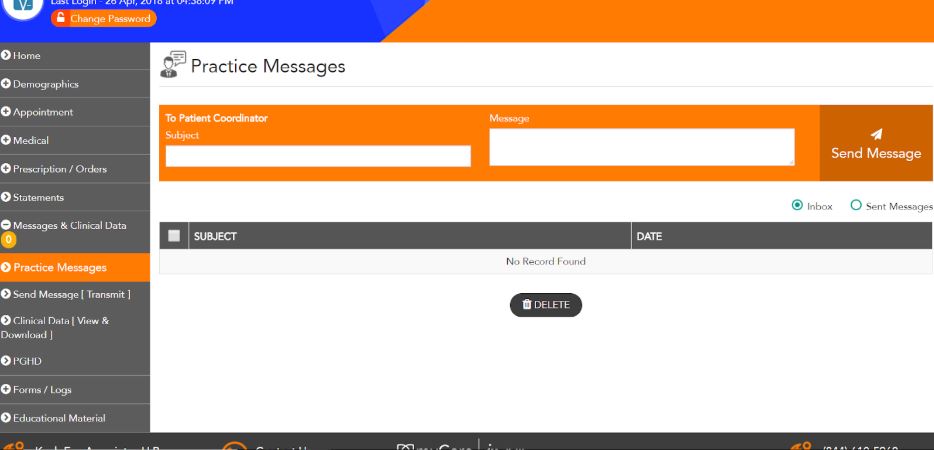
You also have the option to send the practice a message. In order to do this, click on the MESSAGES & CLINICAL DATA section on the left of the screen to open the message window as shown below.
Just remember, if you have any questions throughout this process, feel free to call the office and ask for assistance.